Table Of Content
Learn more about portraiture and hair drawing with a video workshop, here. Or, check out Lee Hammond‘s work for more inspiration and drawing tips. Check the diagram and with your 4B pencil, darken the red areas.
Maintaining Proportions and Flow
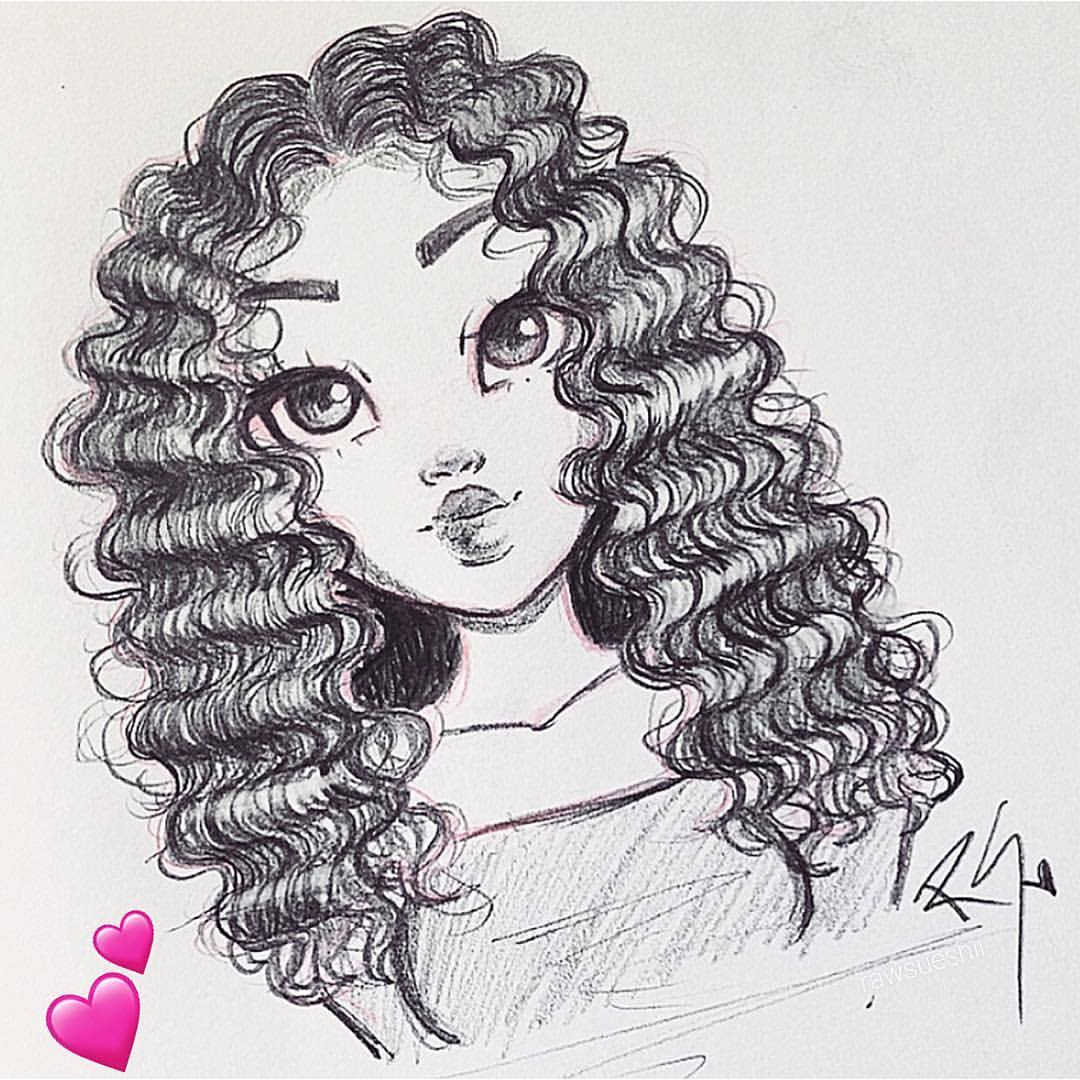
Divide this hairstyle into several curly locks of hair by drawing the same bouncy line as before as many times as needed. Draw some strands on the side, too, to add some texture. Don't draw them as simple straight lines, but rather as narrow "Y" shapes (normal and upside down). Not only that, but you can also elevate the hairstyle by adding jewelry around the hair itself. This could go on the ears, neck and face of the person featured in this realistic hair sketch.
Step 3 – Draw the Outline of the Hair
Look for photographs, art books, magazines, or even online resources that feature a diverse range of hair styles. Over time, your imagination and observation skills will work together to create unique and captivating hair designs. Consider the light source and create highlights and shadows accordingly. This will make your hair look more three-dimensional and lifelike. Add strands of hair in the form of little springs all around the head.
Observing Different Hair Types and Textures
At this stage don’t worry about getting every small hair clump but instead focus on it’s overall volume and large shapes that define the hairstyle. Be sure to start drawing with very light lines as you will need to erase parts of it in some of the steps. Light lines will also make it much easier to correct mistakes. The lines in the examples have been made slightly darker just so that they are easier to see. There are endless styles, textures and colors when it comes to drawing hair, so it would be impossible to cover them all. But it is important to know how to draw as many different types as possible if you want to excel at portraiture.
Same as the other example begin by drawing an outline of the entire shape of the head. All of the examples in this tutorial will use fairly generic lighting with no particularly strong one directional light source. This is an example of the bands of light — areas where the hair is curved, such as in bangs and around the head. This study shows how curls form tubular shapes similar to a cylinder.
Ayo Edebiri Seemingly Apologizes for Jennifer Lopez Podcast Remarks in ‘SNL’ Sketch: Watch - Billboard
Ayo Edebiri Seemingly Apologizes for Jennifer Lopez Podcast Remarks in ‘SNL’ Sketch: Watch.
Posted: Sun, 04 Feb 2024 08:00:00 GMT [source]
Drawing Hair in Graphite and Colored Pencil
I also put in some irregularities around the edges to match the surface (B). • Hair does not form a compacted shape, nor a consistent one. It is very light, so when the character moves, the wind, the humidity, or anything that surrounds it can affect its silhouette. • The volume varies depending on the amount of hair on each side of the head (3). Hair locks must somehow wrap the head following the curves of its surface. Both circles have a layer around them, but A looks more like a flat shape, whereas B looks to be more spherical.

Step 9: Add more hairs
Pretty much, what you want to avoid, is the spaghetti hair effect. You don't want your hair drawing to look like you're just putting down a bunch of lines from the top of the head. Add more layers of strokes over top of the first one to smooth out the gradients and darken the overall shading. Again be sure to leave some distance between the strokes to give an effect of individual hairs. Over top of the drawing of the head and hairline outline the main shape/shapes of the hair.
Since this is a short hairstyle, keep them closer to the shape of the head, adding just slightly more volume to the outline of the skull. Now it’s up to you to really make this realistic hair drawing your own. That was a tricky drawing challenge, so now you can let your hair down with some coloring fun! This is a step where you can unleash your creativity on your realistic hair drawing.
Welcome to Artlex!
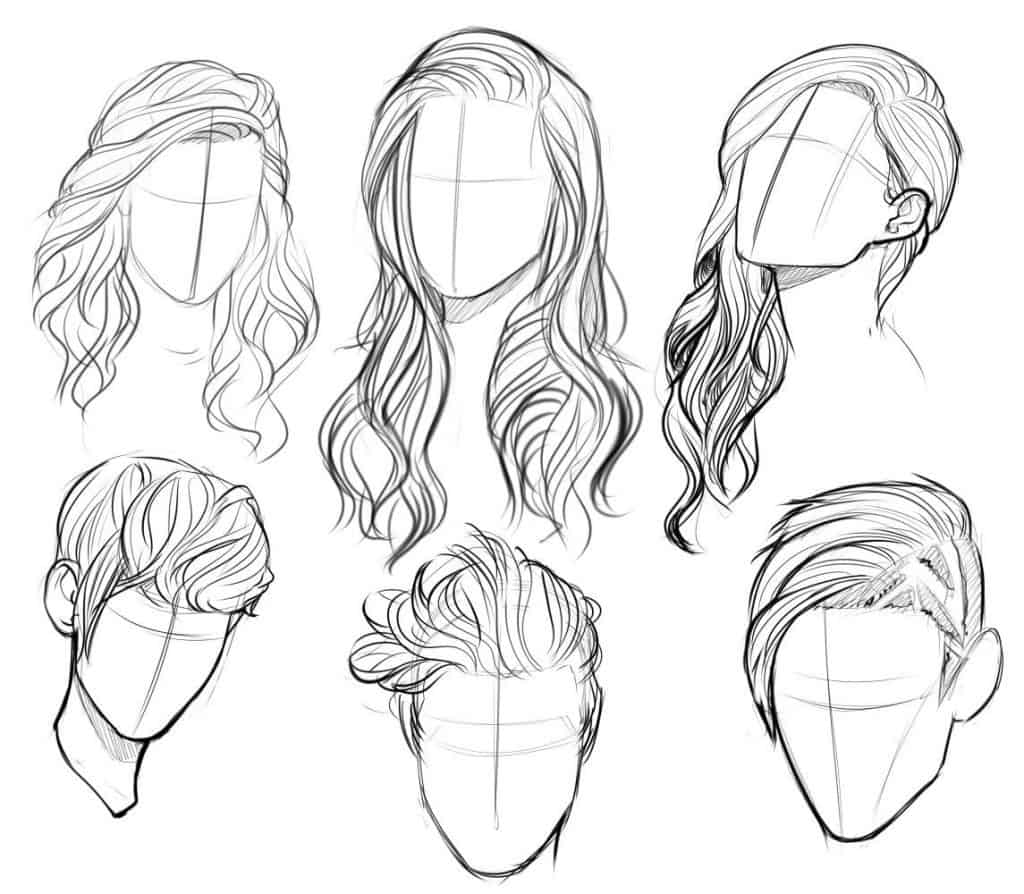
There are many different types of hairstyles and textures. These quick exercises below will give you some practice with some of the most common styles. The pencil lines create the texture of the hair, following the direction the hair is going. The highlights are lifted with the same type of quick stroke. You can tell this is dark hair by the depth of the tones. If you’re a beginner, this may seem like a daunting challenge, especially since this task can take longer than any other part of a drawing.
One of the crucial aspects of drawing hair is observing and understanding different hair types and textures. Hair can vary greatly, ranging from straight to wavy, curly, or even afro-textured. To do this, move your pencil to the hair part and draw several lines in the direction of where the hair grows. These lines can vary in length, from long to short, just so long as they follow the hairstyle. Another way that people customize their hairstyles is by adding small accessories. These could include anything from fun hair clips to Alice bands and other simple accessories.
The examples in this tutorial can give you a good basic idea of how to draw some common hair types. If you want to try drawing another hairstyle you can still apply the same steps/principals used in these tutorial. First defining the main shape of the hair and then refine your drawing by adding the smaller details. Afterwards you can gradually shade the line drawing in several lairs of strokes. Below are a few segment drawings that show different types of hairstyles and textures. Doing small studies such as these can give you good practice with various techniques.


No comments:
Post a Comment